Tutorial |
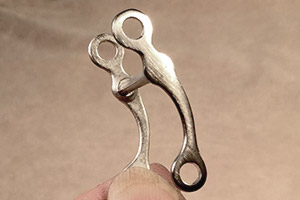
Finishing 1/6 Scale Bits |
 To Tutorials Main Page
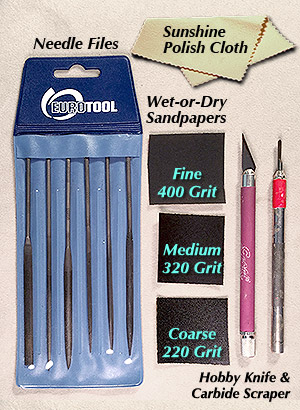
The tools shown will be helpful to finish and polish up a 1/6" scale cast-pewter bit.
You may have a preference for some tools over others, and you may not need them all.
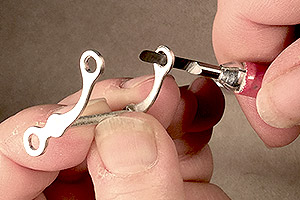
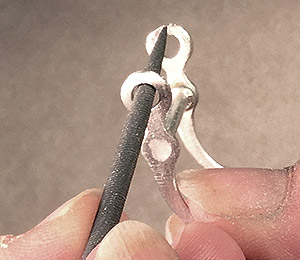
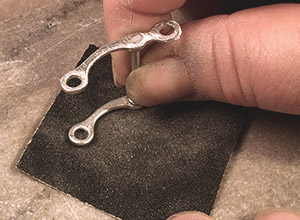
Remove the bulk of the seams from the insides of the holes, using either a Carbide Scraper, or a Hobby Knife.
Once the holes are cleared, look for any other notable seams or burs around the outside edges of the bit and remove those as well.
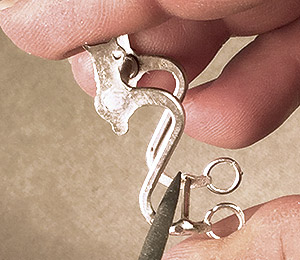
File and smooth the insides of the holes with a round file.
You can also use a file to remove seams in tight spaces you might not be able to get sandpaper into. Use whatever file shapes work for the area you are cleaning up.
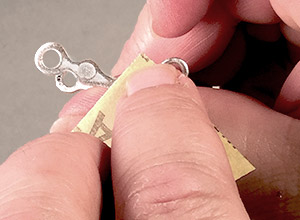
Using coarse (220 grit) Wet-or-Dry Sandpaper, sand the edges smooth.
Tips
Sandpaper is available in sheets. It is useful to use an old crappy scissors to cut it into small squares (about 2x2").
Folding the piece in half can make it stiffer to help keep it straighter, and get into corners.
You can use the sandpaper to round the edges if you wish.
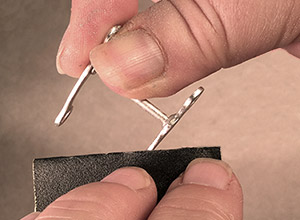
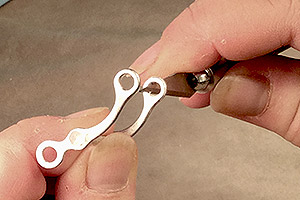
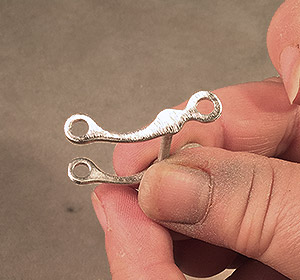
Sand the sides (shanks) of the bit to get them smooth, even and level. Continue to use the coarse-grit sandpaper.
This may take a bit of pressure and effort
You can place the sandpaper on a hard surface, and then move the bit across the sandpaper. This may allow you to apply a little more pressure and get aggressive enough to get things leveled off.
Once you get the outsides of the bit done, don't forget to level off the insides of the shanks, and the mouthpiece for the best results.
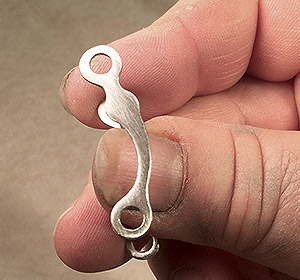
At this point, you are going to see a lot of rough scratch marks, but the bit surfaces should be evened out.
Using the Medium (320 grit) sandpaper, go over everything to reduce the scratches. The surface will get smoother as you go.
Once you have the bit as smooth as you can get it, move on to
Using the Fine (400 grit) sandpaper, go over the bit again.
(By now you can expect your fingers to be getting a little "grimy" from the metal you've removed)
If you've got finer grits of sandpaper, such as 600 grit or "crocus cloth", you can continue to polish and smooth the bit even more.
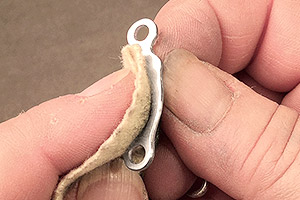
Using A "Sunshine Polishing Cloth" or other similar chemicalized polishing cloth, vigorously rub it all over the bit to buff up a shine.
You can wrap the cloth around a toothpick, bamboo skewer, or small paintbrush handle to get inside the holes, and other tricky spots.
Now your bit should have a fantastic shiny and polished surface!
The more work that you put into the fine sanding and polishing stages, the better the results.
This entire operation can also be done with a Dremel or other moto-tool, using sanding disks and cones, or fiber wheels, and buffing wheels with rouge. If you have the supplies and know how to do it with a Dremel, you can get stupendous results.